🏗️ 0️⃣ Architecture Overview

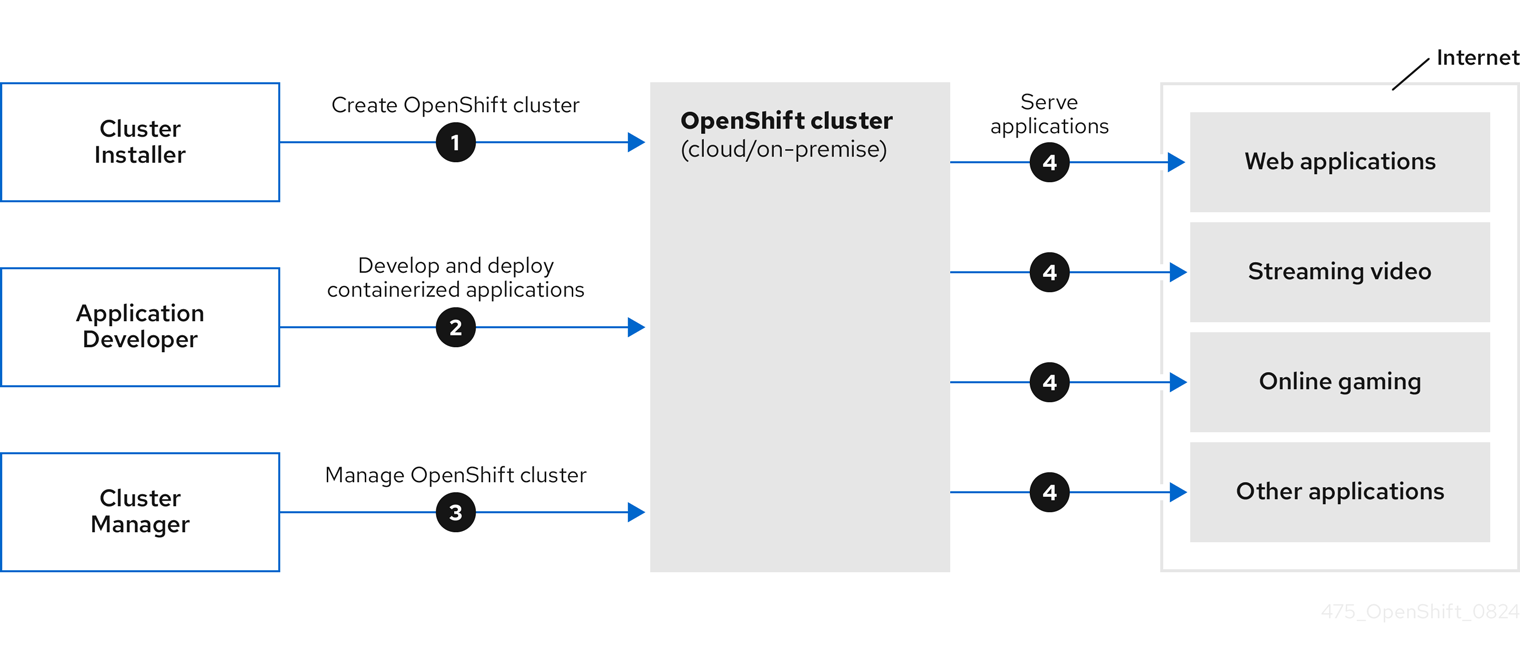
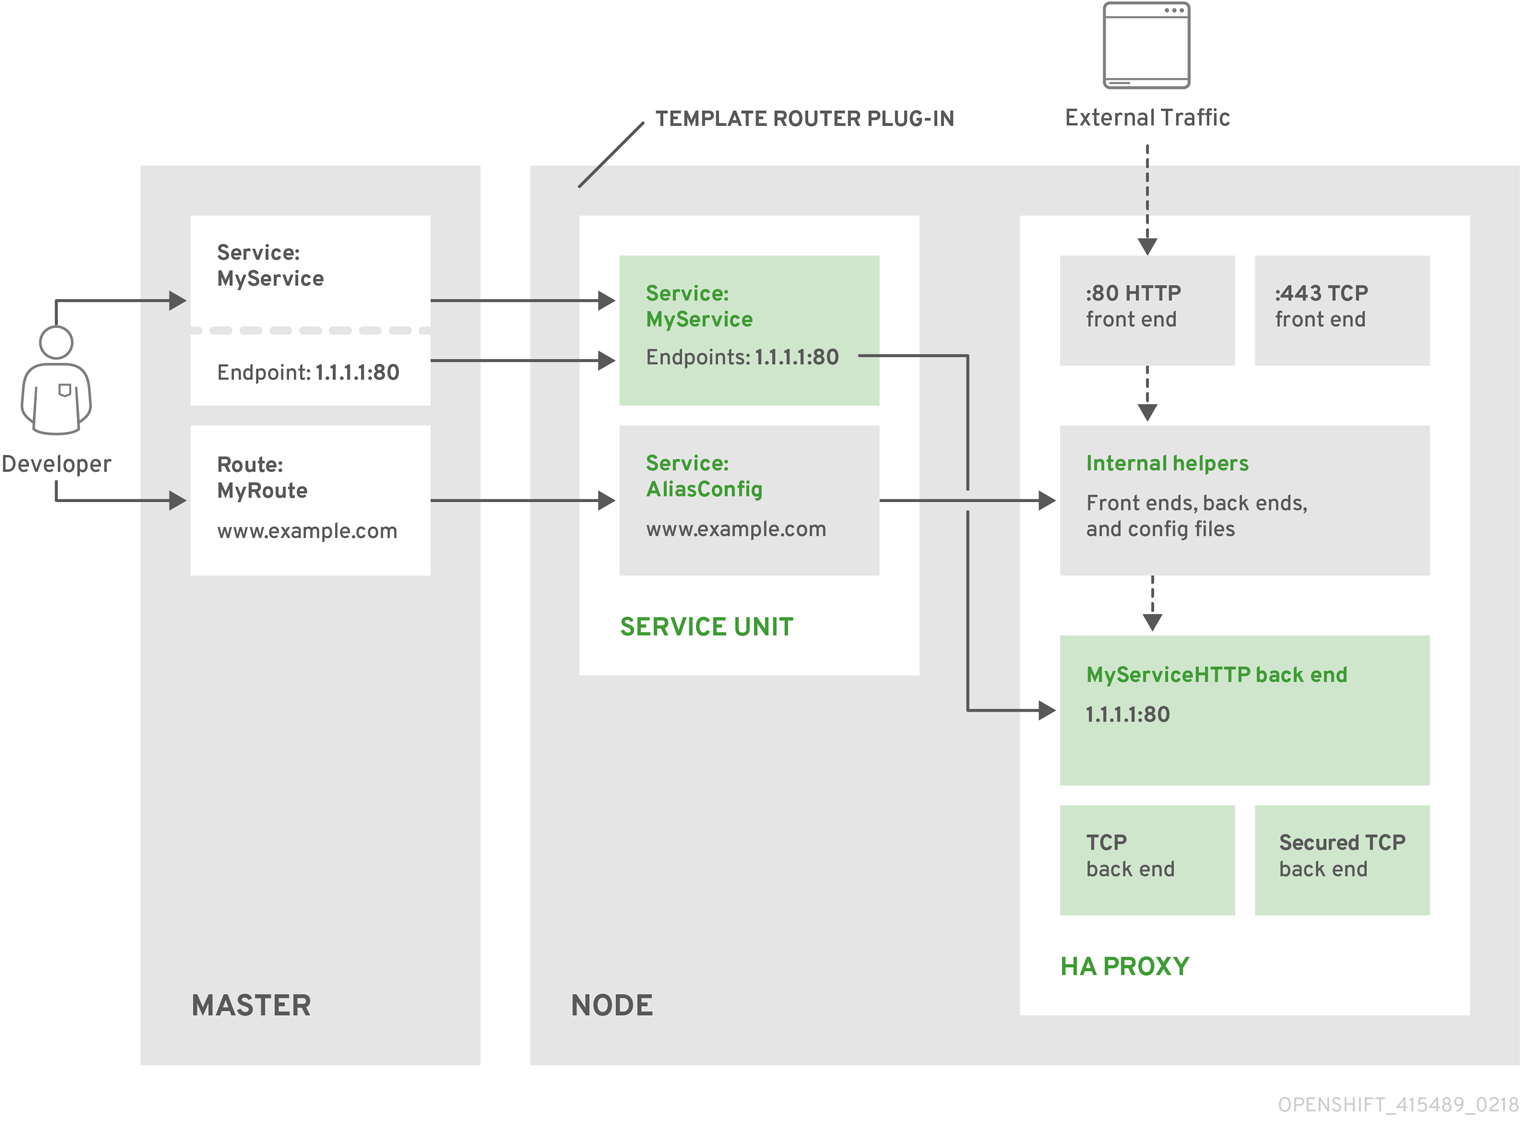
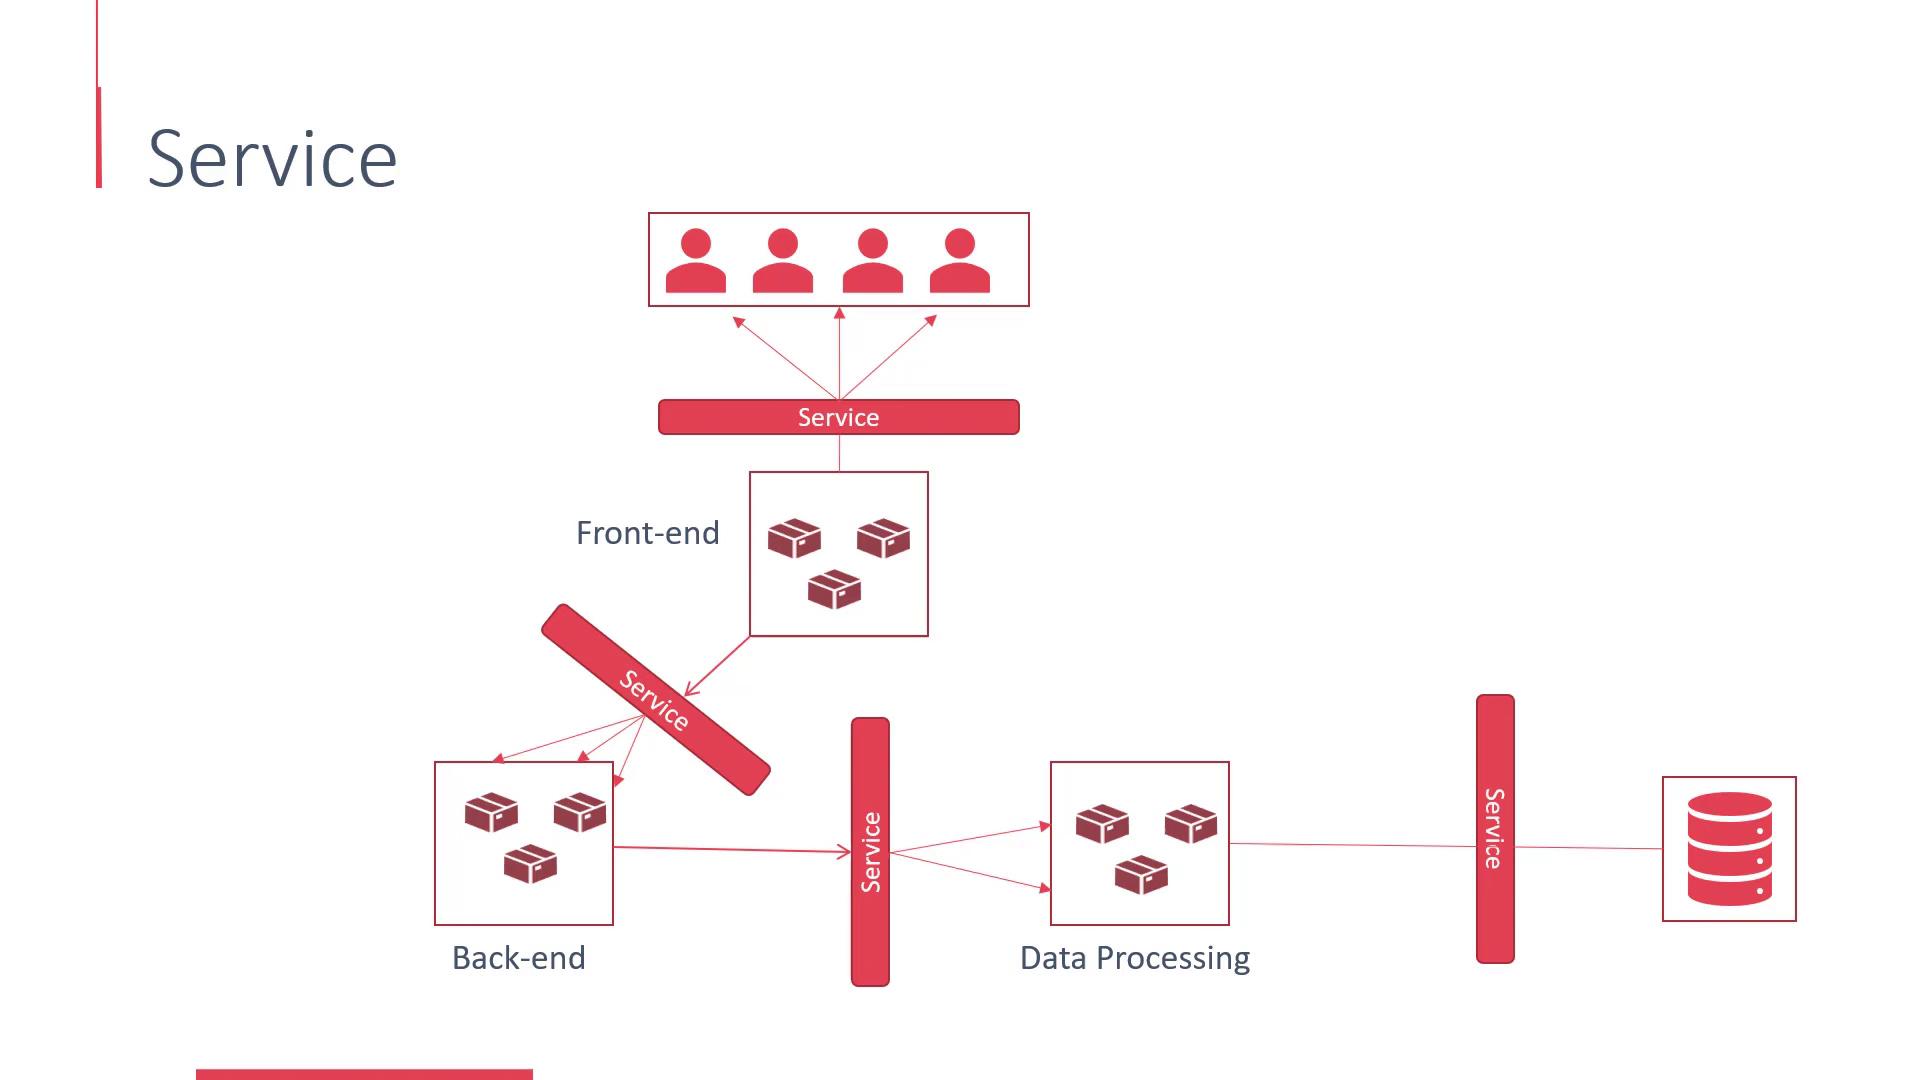
Flow:
Developer → Docker Build → DockerHub → OpenShift Deployment → Service → Route → User
🧩 STEP 1 — Create Web Application
📄 main.go
package main

import (
    "fmt"
    "net/http"
    "os"
)

func handler(w http.ResponseWriter, r *http.Request) {
    message := os.Getenv("MESSAGE")
    if message == "" {
        message = "Hello from OpenShift 🚀"
    }
    fmt.Fprintf(w, message)
}

func main() {
    http.HandleFunc("/", handler)
    http.ListenAndServe(":8080", nil)
}
Important:
- Uses port 8080 (OpenShift safe)
- Reads env variable
🐳 STEP 2 — Create OpenShift-Compatible Dockerfile
# ---------- Build Stage ----------
FROM golang:1.22-alpine AS builder

WORKDIR /opt/app

COPY main.go .

RUN go mod init demo && \
    go mod tidy && \
    CGO_ENABLED=0 GOOS=linux GOARCH=amd64 go build -o app && \
    chmod 755 app

# ---------- Runtime Stage ----------
FROM alpine:latest

WORKDIR /opt/app
RUN mkdir -p /opt/app && chmod -R 777 /opt/app

COPY --from=builder /opt/app/app .

EXPOSE 8080

CMD ["./app"]
Why this works:
- No root requirement
- Arbitrary UID safe
- Proper permissions
- Uses 8080
🏗️ STEP 3 — Build Docker Image
📦 STEP 4 — Push to DockerHub
Now image is available publicly.
🔐 STEP 5 — Login to OpenShift
🚀 STEP 6 — Deploy Using YAML (Production Style)
📄 deployment.yaml
apiVersion: apps/v1
kind: Deployment
metadata:
  name: web-demo
spec:
  replicas: 2
  selector:
    matchLabels:
      app: web-demo
  template:
    metadata:
      labels:
        app: web-demo
    spec:
      containers:
        - name: web-demo
          image: yuvaraiden001/web-demo:v1
          ports:
            - containerPort: 8080
          env:
            - name: MESSAGE
              value: "Hello Yuva from OpenShift 🔥"
Apply:
Check:
Wait until Running.
🌐 STEP 7 — Create Service
📄 service.yaml
apiVersion: v1
kind: Service
metadata:
  name: web-demo-service
spec:
  selector:
    app: web-demo
  ports:
    - port: 8080
      targetPort: 8080
  type: ClusterIP
Apply:
🌍 STEP 8 — Create Route (External Access)
📄 route.yaml
apiVersion: route.openshift.io/v1
kind: Route
metadata:
  name: web-demo-route
spec:
  to:
    kind: Service
    name: web-demo-service
  port:
    targetPort: 8080
  tls:
    termination: edge
Apply:
Check route:
Copy URL → open in browser 🔥
🔄 STEP 9 — Scaling
Check:
OpenShift service load balances automatically.
🔁 STEP 10 — Rolling Update
Change message in deployment.yaml.
Build new version:
Update deployment:
Check rollout:
No downtime.
🔎 STEP 11 — Debugging
Logs:
Describe:
Shell access:
🎯 What You Achieved
You now used:
- Container Runtime (CRI-O)
- Deployment
- ReplicaSet
- Service
- Route (HAProxy)
- Scaling
- Rolling updates
- Environment variables
- TLS termination
That’s full OpenShift application lifecycle.
🧠 Interview Summary Answer
“OpenShift application deployment flow consists of building a container image, pushing it to a registry, creating a Deployment for pods, exposing it via a Service for internal communication, and creating a Route for external access with TLS termination.”